
How to Create your Own Blog Post Checklist to be Consistent
I sometimes use affiliate links in content. This doesn’t cost you anything but I may make a commission payment from anything you buy through these links. As an Amazon Associate I earn from qualifying purchases. All opinions remain my own.
I know what you are thinking – another checklist? But I have so many, loads of lists of things to remember to do and half the time I don’t even use them.
I get it, there’s a lot to remember as a blogger and there’s a habit of creating long, sometimes overcomplicated lists to remind ourselves what to do. There’s a lot of benefit to a to do list, as long as it helps you get things done.
But when it comes to creating your own blog post checklist, you will thank me. There’s no set format, no compulsory items to include but I’ve covered the basic areas to help you decide what you need. And there’s even a free download of my own version as inspiration. Say goodbye to endless checklists and hello to something you create for your own blog – that helps you get stuff done!
Table of Contents
What makes a good blog post?
Let’s start with something a little high level – what makes a good blog post? Now this is a question we all ask, and the answer is going to be different depending on a number of factors. However, there are four key elements, according to Jeff Goins and who am I to argue with him?
The headline that grabs the reader’s attention
Top of the list is top of the post, the headline. There are huge amounts of blog posts written on the art of headline writing itself. Why? Because it is super important – you have usually just a few seconds to grab your reader’s attention and the headline is the way to do this.
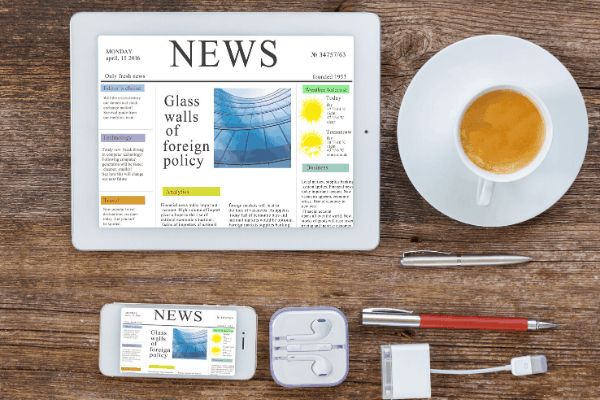
You want your headline to be like a news headline from the TV, maybe something from a newspaper. Interesting, descriptive and engaging. But you also want it to be accurate – no clickbait here, thanks.
There are tools to help with headlines such as CoSchedule’s Headline Analyser. Don’t be afraid to use them but also to ignore them if you feel a headline is right and the tools aren’t so keen. Test, check and see what works – you can always trial different titles on your pins with those other headlines and see what catches on.
The lead paragraph that makes them want more
Writing a blog post is very different from writing a book (I imagine, anyway) because the first paragraph of a book can often be huge or just a few words. With a blog post, you want to have a lead paragraph that makes the reader curious and escorts them into reading the rest of the post.
Journalists have a term for it – ‘don’t bury the lede’ which basically means grab someone’s attention immediately or they are gone. So, think more journalist than author when creating that first paragraph.
The support points that hold the interest
Next up, you are moving your reader through to the bulk of the blog post, the main topic, the reason you are writing. And you still want to keep grabbing their attention.
Formatting is your friend during this section (more on that in a mo) as well as headings. Not only do these break up the content but they help search engine bots understand what the blog post is about.

There’s no right or wrong length to the article. Some experts say Google ranks content highest that is 2500+ words but not every post needs to be that. If you are wiring a recipe on chicken soup, that’s just crazy to try and reach. Write for your reader, cover the topic thoroughly and don’t think about word count.
The call to action that tells them what’s next
I’m the first to admit I’m still working on the art of the call to action, but the idea is simple – tell your audience what to do next. So, for this post it could be something as simple as ‘click here to sign up for my newsletter and grab my free blog post checklist to help you create your own.’
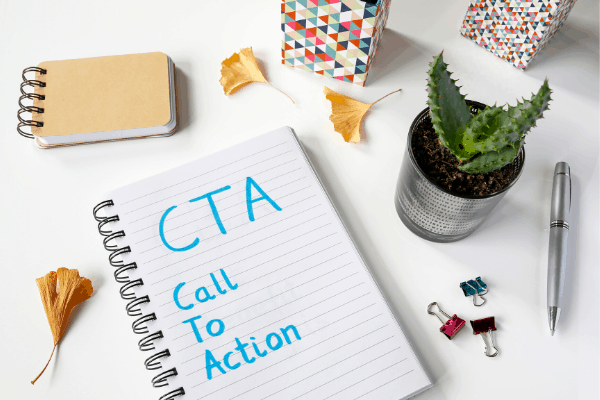
Don’t try to be subtle, vague or hint at what you want. Just ask them or even tell them – ‘pin it for later’ is a simple CTA to add under a Pinterest image. Use those action words to get people to take the required step.
How do you structure a blog post?
The structure of your blog post is crucial for two reasons – user experience and search engines. While it might not seem like something that you need on a blog process checklist, it is worth adding to remind yourself.
But what does a good structure look like? Here are some key things to ensure you use (or don’t use):
- Headings – headings such as the H2 and H3 should be used to break up content and for SEO purposes. There should only be one H1 per page (the title) and WordPress does this automatically. You can go below H3 but only if you really need to
- Short paragraphs – I’m not a fan of single sentence paragraphs unless it is dialogue in a book, but others love them. I aim for the idea of keeping paragraphs to around 2-3 sentence
- Write in plain English – I’m a bit of a waffler at times so I have to remind myself of this one. Cut out extra words, don’t use fancy terms unless they are necessary and don’t be afraid to break things down into smaller sentences
- Add relevant images – images help break up the content, can illustrate a point or help the reader visualise something plus they have added SEO benefits when you complete the ALT text properly
- Have a conclusion and CTA – we have talked about the CTA but before it, summarise the main points of the article in a short paragraph
Don’t forget to add external links and internal links as jobs on your blog post structure checklist. Internal linking is particularly important and external links are good if you have referenced another article, used a quote or anything like that.
Finish with a meta description that helps encourage people to click when the post shows on search engines. After all, we want all the search engine traffic we can get and that’s a key part of it.
How many posts should I have before I launch my blog?
You can launch a blog without a single blog post if you like and just have basic pages like About Me and Contact in place. But most experts recommend that you have 3-5 posts or one for each of your main categories before you launch.
So, if you are creating a blog post checklist for a blog you are yet to launch, that’s brilliant! You can get into good practices before you start (unlike me) and save yourself a lot of editing down the line. The important thing is not to let fear of getting the checklist or even the post perfect before you publish – that’s what amendments and editing is for!
Why does a checklist help?
I sense some of you out there being resistant to the idea of checklists, that ‘something else to do’ approach. And that’s okay, you can completely write blog posts without a checklist. But here are my two main reasons for creating one.
Consistency
I’m pretty good at being consistent in posting blog posts, always have been. But something I’m not consistent with things like formatting and adding a CTA. A checklist lets me glance over and make sure I have done all the things I have decided I want to do with every post.

Not only that, but if you are hiring a content writer, an editor or even a VA, you can give them the post list and they can use it to make sure they are doing everything as you would. This means you don’t need to keep getting questions about how you format this or what kind of ending you like on posts.
Batching jobs
Batching jobs is one of the reasons I can run more than one blog, do client work and still have time to sleep. I first discovered it a while back and am constantly refining my system, but I definitely get more done.
Armed with your checklist, you can also see what needs to be done for each post. For example, if you want to add a quick quote graphic to every post, 2-3 images and make a Pinterest image along with the featured image, this can be on your checklist. Then you can batch the jobs and make certain everything is done.
Creating your own blog post checklist
You are probably going to want to create your own version of a blog post checklist because you will have stages you want to include that I might not. For instance, maybe you record a video to go with the content you are making if you are a craft blogger with a how to post. Or you need to put your in-process shots into a simple gallery for your recipe post.
The important thing is to get a basic list together of the tasks to do and the things to remember – then refine it. It is a work in progress, just like your overall blog and all of those items on your overall job list.
You might always want to break it down into sections. An example of the sections could be:
- Keyword research and idea outline
- Blog post writing checklist
- On page SEO (search engine optimization) checklist
- Pre-publishing blog checklist
- Post-publishing blog checklist / promotion checklist

Digital checklists
Once you have jotted down what tasks need to be on your checklist, you are ready to create it. There are some good digital tools to help with this.
Trello
Trello is great for this kind of thing for two main reasons. One, you can create checklists within cards and have multiple ones on a single card. Two, you can copy those checklists into a new card.
So, you could create a master template. Then each time you have a blog post, create a copy with the various checklists in it. You don’t miss anything but don’t have to type it all up every time.
Asana
You can use a similar process with Asana by repeating a card with checklists and notes in it. You could create a ‘new post task’ with the various checklists and information in it and set it to repeat however often you publish a new post. Asana would then create the task for you with checklists in place.
ClickUp
I’ve recently started to use ClickUp for my own blog tasks and checklists. It works in a similar way to Asana but has some handy extra features such as goals. For the purpose of a blog post checklist, you could apply a similar process to Asana and create a repeating task with all the information in. It allows sub-tasks and checklists within a task.
Use Canva to create it
What about if you are a little more hands-on and like to have an actual list to check off as you go? Then one of the easiest ways is to grab something from Canva and adapt it to your purposes.
In fact, to help you do this, I’ve taken the checklist I created below and made it into a shareable template. Sign up below with your email for my newsletter and I’ll send you a link to access it. Just make a copy and you can start adapting it to your own needs – then save it and download as a PDF to print.
Creating a paper based planner
I’m always drawn to paper planners but I often don’t remember to use them! However this is also a great way to make a blog post checklist alongside other blog post jobs. If you have a blog planner, you can create a master checklist in it and simply copy over relevant sections for each post. Or tick sections off in pencil and rub it out once the post is finished. Setting up a blog planner is simple and let’s you make something entirely what you need and like!
Creating the perfect blog post checklist
Don’t worry you aren’t going to create the perfect blog post checklist the first time you sit down to make one. There are always things you realise you want to add or start doing. But the key thing is to start creating one so that you are consistent in your blogging.
Don’t forget to sign up below for a copy of my blog post checklist and the link to the editable Canva template to make your own!


One Comment